Easy Italian Pizzelle Recipe: Crisp Waffle Cookies for Holiday Joy
There's something uniquely magical about the holidays, and often, that magic is woven into the aromas and flavors of cherished family recipes. Among Italy's vast culinary treasures, few cookies evoke such warmth, tradition, and delicate charm as pizzelle. These crisp, waffle-like cookies, with their intricate patterns and irresistible crunch, are not just a dessert; they are a centuries-old edible heirloom, perfect for bringing a touch of Italian elegance to your festive gatherings. Forget store-bought sweets; this easy
pizzelle recipe will guide you to create delightful, golden cookies that will become a beloved part of your holiday tradition.
Pizzelle: A Journey Through Italy's Oldest Cookie Tradition
The story of pizzelle is as rich and layered as the cookies themselves. Far from being a mere confection, pizzelle hold the distinction of being one of the oldest known cookie recipes on earth, with origins tracing back as far as the 8th century BC, and even finding a name –
crustule – in Roman times. While universally known as pizzelle in the United States, their identity across Italy is a colorful tapestry of regional names:
ferratelle in Abruzzo (where they are most famously linked),
neole,
cancelle, or
nuvole in Lazio and Molise. These diverse names underscore their deep roots and widespread affection throughout central Italy.
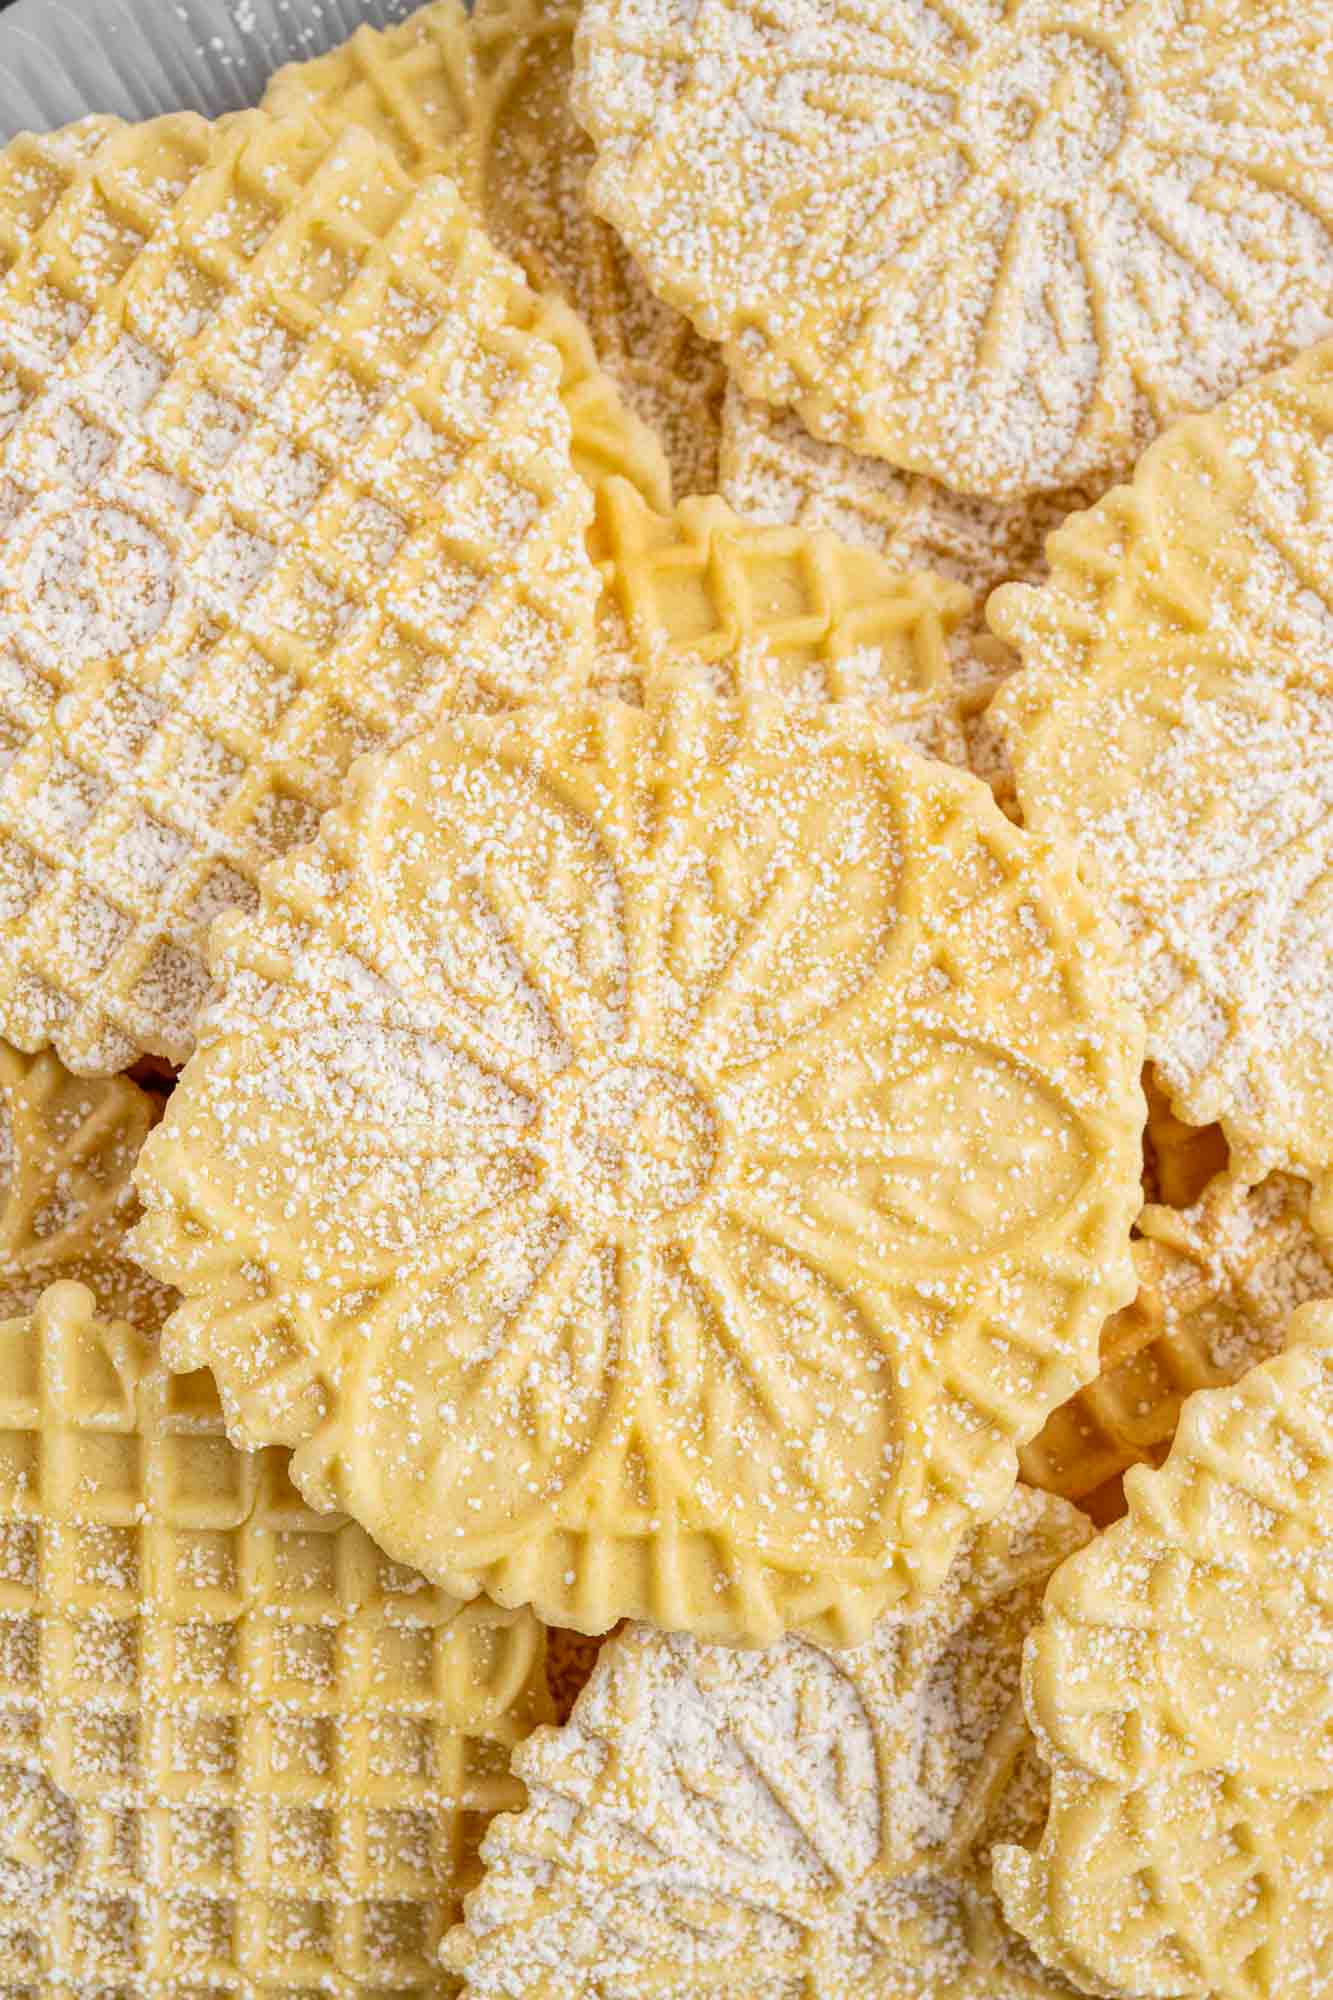
Historically, these delicate, patterned treats were crafted using elaborate irons, often personalized with family crests or significant designs, adding a profoundly personal touch to celebrations. While ancient presses were made from cast iron and heated over open fires or stovetops, today's electric pizzelle irons simplify the process, making this ancient tradition accessible to modern home bakers. Whether adorned with the traditional Abruzzese rhombus weave or the popular round snowflake pattern seen in the US, pizzelle remain a symbol of Italian culture, gracing tables during Christmas, Easter, weddings, and countless family celebrations. To delve deeper into their fascinating history, you might enjoy reading
Pizzelle: Unveiling Italy's Oldest Cookie Tradition.
Crafting Your Easy Pizzelle Recipe: Ingredients and Batter Basics
The beauty of a classic
pizzelle recipe lies in its simplicity. You don't need exotic ingredients to create these exquisite cookies; just a handful of pantry staples come together to form a surprisingly delicate batter.
Here’s what you’ll typically need for your basic pizzelle batter:
- All-purpose flour: The foundation of our crisp cookies. Sifting it ensures a light, airy texture.
- Granulated sugar: Provides sweetness and helps achieve that golden-brown color.
- Eggs: Act as a binder, giving structure to the batter.
- Milk: Adds moisture and contributes to a tender crumb.
- Oil or melted butter: Adds richness and helps prevent sticking. While oil (like a light vegetable or olive oil) is traditional in many ferratelle recipes, melted butter offers a delightful richness often preferred in American variations.
- Flavorings: This is where you can truly personalize your pizzelle.
- Anise extract: The most traditional and iconic flavor, offering a distinct licorice-like aroma that transports you straight to an Italian nonna's kitchen.
- Vanilla extract: A universally loved flavor that provides a sweet, comforting aroma.
- Lemon zest: For a bright, citrusy lift, perfect for spring holidays.
- Almond extract: Adds a nutty, elegant note.
- Cocoa powder: For a chocolate pizzelle variation – simply substitute a small portion of flour with cocoa.
- A pinch of salt: Balances the sweetness and enhances all the other flavors.
- Baking powder (optional but recommended): Some recipes use a touch of baking powder for a slightly more tender interior, though many traditional ferratelle rely solely on eggs for leavening.
Mixing the Batter: Step-by-Step Simplicity
The process of making pizzelle batter is straightforward, even for novice bakers.
1.
Combine Wet Ingredients (or most of them): In a large mixing bowl, whisk together the eggs, sugar, milk, and your chosen flavorings (anise, vanilla, lemon zest, etc.). If using melted butter, add it here.
2.
Add Dry Ingredients: Sift the flour with the salt (and baking powder if using) into the wet mixture.
3.
Mix Until Smooth: Using a whisk or an electric mixer on low speed, mix the ingredients until just combined and smooth. Be careful not to overmix, as this can develop the gluten too much, leading to tough cookies. If using oil, gradually drizzle it in as you mix.
4.
Rest the Batter: This crucial step is often overlooked. Allowing the batter to stand at room temperature for at least 30 minutes, or even an hour, lets the flour hydrate fully. This results in a smoother batter, easier cooking, and a wonderfully crisp final texture. Some even prefer to let it rest in the fridge overnight for maximum hydration and flavor development.
Mastering Your Pizzelle Iron: Tips for Perfect Crispness
The pizzelle iron is the heart of this cookie-making process. Whether you have a traditional cast iron plate heated on the stove or a convenient electric stand-alone pizzelle maker, understanding your tool is key to success. For those interested in the more traditional method, exploring an
Authentic Pizzelle Recipe: Make Traditional Italian Ferratelle might offer additional insights into using stovetop irons.
Electric vs. Stovetop Irons: What You Need to Know
- Electric Pizzelle Makers: These are the most common and easiest to use for home bakers. They heat consistently, often have indicator lights, and cook pizzelle quickly, usually within 30-60 seconds per cookie. They typically produce round pizzelle with snowflake or floral designs.
- Stovetop Cast Iron Irons: These require a bit more skill and attention but are cherished by purists. They need to be heated evenly on both sides over a gas or electric burner. The heat distribution can be less consistent, but many believe they yield a uniquely crisp texture. These often feature the traditional rhombus weave pattern.
Tips for Cooking Perfect Pizzelle:
1.
Preheat Thoroughly: Always ensure your iron is fully preheated before adding batter. For electric irons, wait for the indicator light. For stovetop irons, heat it on both sides for several minutes.
2.
Lightly Grease (Initially): For most non-stick electric irons, you only need to lightly brush with oil or cooking spray before the first batch. For cast iron, you'll likely need to grease it more regularly to prevent sticking. Too much oil can make the pizzelle greasy, so use sparingly.
3.
Use the Right Amount of Batter: This is key! Too much, and the batter will ooze out the sides. Too little, and you'll have incomplete cookies. A good starting point is about 1 tablespoon (or a small cookie scoop) of batter per pizzelle. Adjust as needed.
4.
Cook Time is Crucial:
*
Electric Irons: Cook according to manufacturer's directions, usually 30-60 seconds, until golden brown. Keep an eye on them; the first few might take a little longer.
*
Stovetop Irons: This requires more practice. Cook for 20-30 seconds on one side, then flip the iron and cook for another 20-30 seconds, or until golden. Lift occasionally to check for color.
5.
Remove Carefully: Use a non-scratch utensil (like a wooden skewer or plastic spatula) to lift the hot pizzelle from the iron. They will be soft when hot but will crisp up quickly as they cool.
6.
Cool Completely: Transfer the hot pizzelle to a wire rack to cool completely. This is essential for achieving that characteristic crisp texture. Stacking them while warm will make them soft.
Flavor Variations and Serving Suggestions
While the traditional anise-flavored pizzelle are a staple, don't hesitate to experiment. As mentioned, vanilla, lemon zest, almond, or even a hint of cardamom can transform your cookies. For a visually appealing holiday treat, consider dusting them lightly with powdered sugar once cooled.
Pizzelle are incredibly versatile in how they can be enjoyed:
- Plain and Simple: Their crisp texture and delicate flavor are perfect on their own, perhaps with a cup of coffee or tea.
- Dusted: A light dusting of powdered sugar makes them look festive and adds a touch more sweetness.
- Sandwiches: Spread cooled pizzelle with Nutella, cannoli cream, or your favorite fruit preserves for a delightful sandwich cookie.
- Rolled: While still warm and pliable, you can gently roll pizzelle into cones or cylinders. Once cooled, these can be filled with whipped cream, chocolate mousse, or cannoli cream for an impressive dessert.
- Dessert Garnish: Crush them over ice cream, yogurt, or fruit salads for an elegant textural contrast.
Why This Easy Pizzelle Recipe is a Holiday Must-Have
Making pizzelle is more than just baking; it's an experience. The process fills your home with comforting aromas, and the resulting cookies are a testament to simple elegance. They are perfect for holiday cookie exchanges, thoughtful homemade gifts, or simply as a special treat to share with loved ones. Their delicate crispness and ability to hold a variety of flavors make them universally appealing. This
pizzelle recipe, rooted in centuries of Italian tradition, offers an approachable way to connect with that heritage and create new memories.
Conclusion
Embrace the joy of baking this holiday season with an easy
pizzelle recipe. These crisp, intricate waffle cookies are a beautiful bridge between ancient Italian customs and your modern kitchen. With simple ingredients and a little patience, you'll be creating batches of these delightful treats that will charm family and friends alike. They're more than just cookies; they're a taste of history, a symbol of festivity, and a guaranteed way to add an extra layer of sweetness to your special occasions. Happy baking!