Authentic Pizzelle Recipe: Make Traditional Italian Ferratelle
Step into the heart of Italian culinary tradition with an authentic pizzelle recipe, a beloved classic known for its delicate crispness and intricate patterns. Often recognized in Italy as *ferratelle*, these delightful waffle-like cookies are more than just a sweet treat; they are a cherished emblem of heritage, especially prevalent during holidays and family gatherings. While many in the United States associate pizzelle with a round shape and a festive snowflake design, their origins in the Abruzzo region of Italy boast a distinctive rhombus weave – a testament to their rich history. This comprehensive guide will not only provide you with a time-honored pizzelle recipe but also immerse you in the fascinating story behind these ancient Italian cookies, ensuring your homemade ferratelle are nothing short of perfection.
The Timeless Appeal of Pizzelle: A Journey Through Italian Culinary History
The history of pizzelle is as rich and intricate as the patterns etched into their surfaces. Believed to be among the oldest known cookie recipes on earth, some sources trace their lineage back to the 8th century BC, with references to similar baked goods called *crustule* during Roman times. This deep historical root solidifies their status as a cornerstone of Italian baking.
Primarily hailing from the Abruzzo region in central Italy, pizzelle (or ferratelle, as they're predominantly known there) are also traditional in neighboring Lazio and Molise. Their name, however, is a fascinating linguistic tapestry woven across Italy's diverse regions. Depending on where you are, you might encounter them as *neole*, *nuvole*, *cancelle*, or *cancellate* – each name hinting at a local dialect or a subtle variation in preparation. This diversity only underscores their widespread cultural significance and adaptability.
Historically, these crisp, flat cookies were made using heavy cast-iron presses, often heated directly over an open fire or on a stovetop. These irons were not just tools; they were artistic canvases, frequently engraved with elaborate patterns, including family crests, symbols of prosperity, or intricate geometric designs, adding a deeply personal touch to each batch. While traditional cast-iron irons can still be found for those who relish a challenge, the advent of electric pizzelle makers has simplified the process, making these historical treats accessible to home bakers everywhere. Whether crafted in an ancient iron or a modern electric model, pizzelle remain a symbol of Italian culture, gracing tables during Christmas, Easter, weddings, and countless family celebrations. To learn more about their incredible past, delve into our article:
Pizzelle: Unveiling Italy's Oldest Cookie Tradition.
Unlocking the Authentic Pizzelle Recipe: Ingredients and Flavor Profiles
The beauty of a truly authentic pizzelle recipe lies in its simplicity. With just a handful of everyday pantry staples, you can conjure a dessert that speaks volumes of tradition and flavor. The core ingredients typically include flour, eggs, sugar, milk, and a fat source like butter or oil. What elevates them from simple waffles to distinct pizzelle is the flavoring.
The most traditional and revered flavor for Italian pizzelle is **anise**. This licorice-like essence imbues the cookies with a unique, aromatic profile that is distinctly Italian and often evokes nostalgic memories for those familiar with classic holiday baking. However, for those who prefer a different note, **vanilla extract** is a widely accepted and equally delicious alternative, offering a more universally appealing sweetness.
Beyond these two classics, the versatility of the pizzelle batter allows for delightful experimentation. Consider adding:
* **Lemon or orange zest** for a bright, citrusy lift.
* **Almond extract** for a nutty, marzipan-like nuance.
* **Cinnamon** or other warm spices for a cozy, festive feel.
* A touch of **cocoa powder** to create rich, chocolate pizzelle.
Regardless of your chosen flavor, the quality of your ingredients matters. Fresh eggs, good quality flour, and pure extracts will yield the best results, ensuring your homemade pizzelle are not just edible, but truly memorable.
The Essential Tool: Mastering Your Pizzelle Iron
While the ingredients are simple, the pizzelle iron is the star of this particular show. This specialized appliance is what gives pizzelle their characteristic thinness, crisp texture, and beautiful imprinted designs. Understanding your iron is key to mastering the pizzelle recipe.
**Types of Pizzelle Irons:**
* **Traditional Cast-Iron Irons:** These are typically stovetop models that require direct heat. They are revered by purists for their ability to replicate the authentic, old-world cooking method and often impart a unique crispness. However, they demand more attention to temperature control and even heating.
* **Electric Pizzelle Makers:** Modern electric irons are incredibly convenient and widely available. They feature non-stick plates, built-in thermostats for consistent heat, and indicator lights that signal when the iron is ready and when the cookies are cooked. They are much easier for beginners and those seeking a less labor-intensive process.
**Tips for Using Your Pizzelle Iron:**
1. **Preheating is Crucial:** Always preheat your iron thoroughly according to the manufacturer's instructions. A properly heated iron ensures even cooking and prevents the pizzelle from sticking.
2. **Light Greasing (If Needed):** While most electric irons are non-stick, a very light brush of oil on the plates for the first few cookies can help, especially if you're using an older or cast-iron model.
3. **Perfect Batter Placement:** The amount of batter you use is vital. Too much will ooze out the sides; too little will result in incomplete cookies. Start with a tablespoon or a small scoop (often provided with the iron) placed slightly off-center towards the back of each design. As you close the iron, the batter will spread. You'll quickly learn the ideal amount through a bit of trial and error.
4. **Cooking Time:** Electric irons usually have indicator lights or suggested cooking times (typically 30-60 seconds). For cast-iron, you'll need to watch for visual cues – a golden-brown color and steam ceasing to escape.
5. **Gentle Removal:** Use a thin spatula or a wooden skewer to carefully lift the hot pizzelle from the iron. They are delicate when warm and crisp up as they cool.
6. **Cooling for Crispness:** Immediately transfer the cooked pizzelle to a wire rack to cool completely. This air circulation is essential for achieving that signature crisp texture. Stacking them while warm will make them soft.
Crafting Your Pizzelle: Step-by-Step Authentic Pizzelle Recipe
This traditional pizzelle recipe blends historical authenticity with modern ease, guiding you to perfect, crisp cookies every time.
**Yields:** Approximately 3-4 dozen cookies
**Prep time:** 15 minutes + 1 hour rest time
**Cook time:** 30-45 minutes
**Ingredients:**
* 2 ½ cups all-purpose flour, sifted
* ¾ cup granulated sugar
* 1 teaspoon baking powder
* ¼ teaspoon salt
* 4 large eggs
* ½ cup unsalted butter, melted and slightly cooled (or ½ cup neutral oil like canola/vegetable)
* ¼ cup whole milk
* 2 teaspoons pure vanilla extract OR 2 teaspoons anise extract (or other flavorings like lemon zest, almond extract)
**Instructions:**
1. **Prepare Dry Ingredients:** In a large bowl, whisk together the sifted flour, granulated sugar, baking powder, and salt. Sifting the flour helps prevent lumps and ensures a smoother batter.
2. **Combine Wet Ingredients:** In a separate medium bowl, whisk the eggs until well combined. Gradually whisk in the melted butter (or oil), milk, and your chosen flavoring (vanilla, anise, etc.) until smooth.
3. **Form the Batter:** Gradually add the wet ingredient mixture to the dry ingredients, mixing with a whisk or an electric mixer on low speed until just combined. Be careful not to overmix; overmixing can lead to tough cookies. The batter should be thick but pourable.
4. **Hydrate the Batter (Crucial Step):** Cover the bowl with plastic wrap and let the batter rest at room temperature for at least 1 hour, or up to 2 hours. This resting period allows the flour to fully hydrate, resulting in a more tender, flavorful, and better-textured pizzelle.
5. **Preheat Pizzelle Iron:** While the batter rests, prepare your workspace. Once ready to cook, plug in your electric pizzelle iron and preheat it according to the manufacturer's directions. If using a stovetop iron, heat it evenly over medium heat.
6. **Cook the Pizzelle:** Once the iron is hot (indicator light on electric irons will signal readiness), drop about 1 tablespoon (or a small scoop) of batter onto the center of each grid. Close the iron firmly but gently.
7. **Monitor and Cook:** Cook for approximately 30-60 seconds, or until the pizzelle are light golden brown and crisp. Cooking times can vary based on your iron and desired crispness. Watch for steam to diminish and the color to deepen.
8. **Remove and Cool:** Carefully open the iron and use a thin, non-metal spatula or fork to gently lift the hot pizzelle. Immediately transfer them to a wire rack to cool completely. As they cool, they will become wonderfully crisp.
9. **Repeat:** Continue cooking the remaining batter, ensuring the iron remains hot between batches.
**Tips for Success:**
* **Don't Rush the Rest:** The batter resting period is not optional; it's fundamental for the best texture and flavor.
* **Consistency is Key:** If your batter seems too thick, you can add a tiny bit more milk (1 teaspoon at a time) to reach a thick but spreadable consistency. If too thin, a tablespoon of flour can help.
* **Work Quickly:** Pizzelle cook fast! Have your cooling rack ready and work efficiently to remove them once done.
* **Forming Shapes (Optional):** If you wish to make pizzelle cones or cups for fillings, remove them from the iron while still warm and immediately shape them over a cone mold or small bowl. They will harden in that shape as they cool.
Serving Suggestions & Creative Variations
Once your batch of beautiful pizzelle is ready, the serving possibilities are endless!
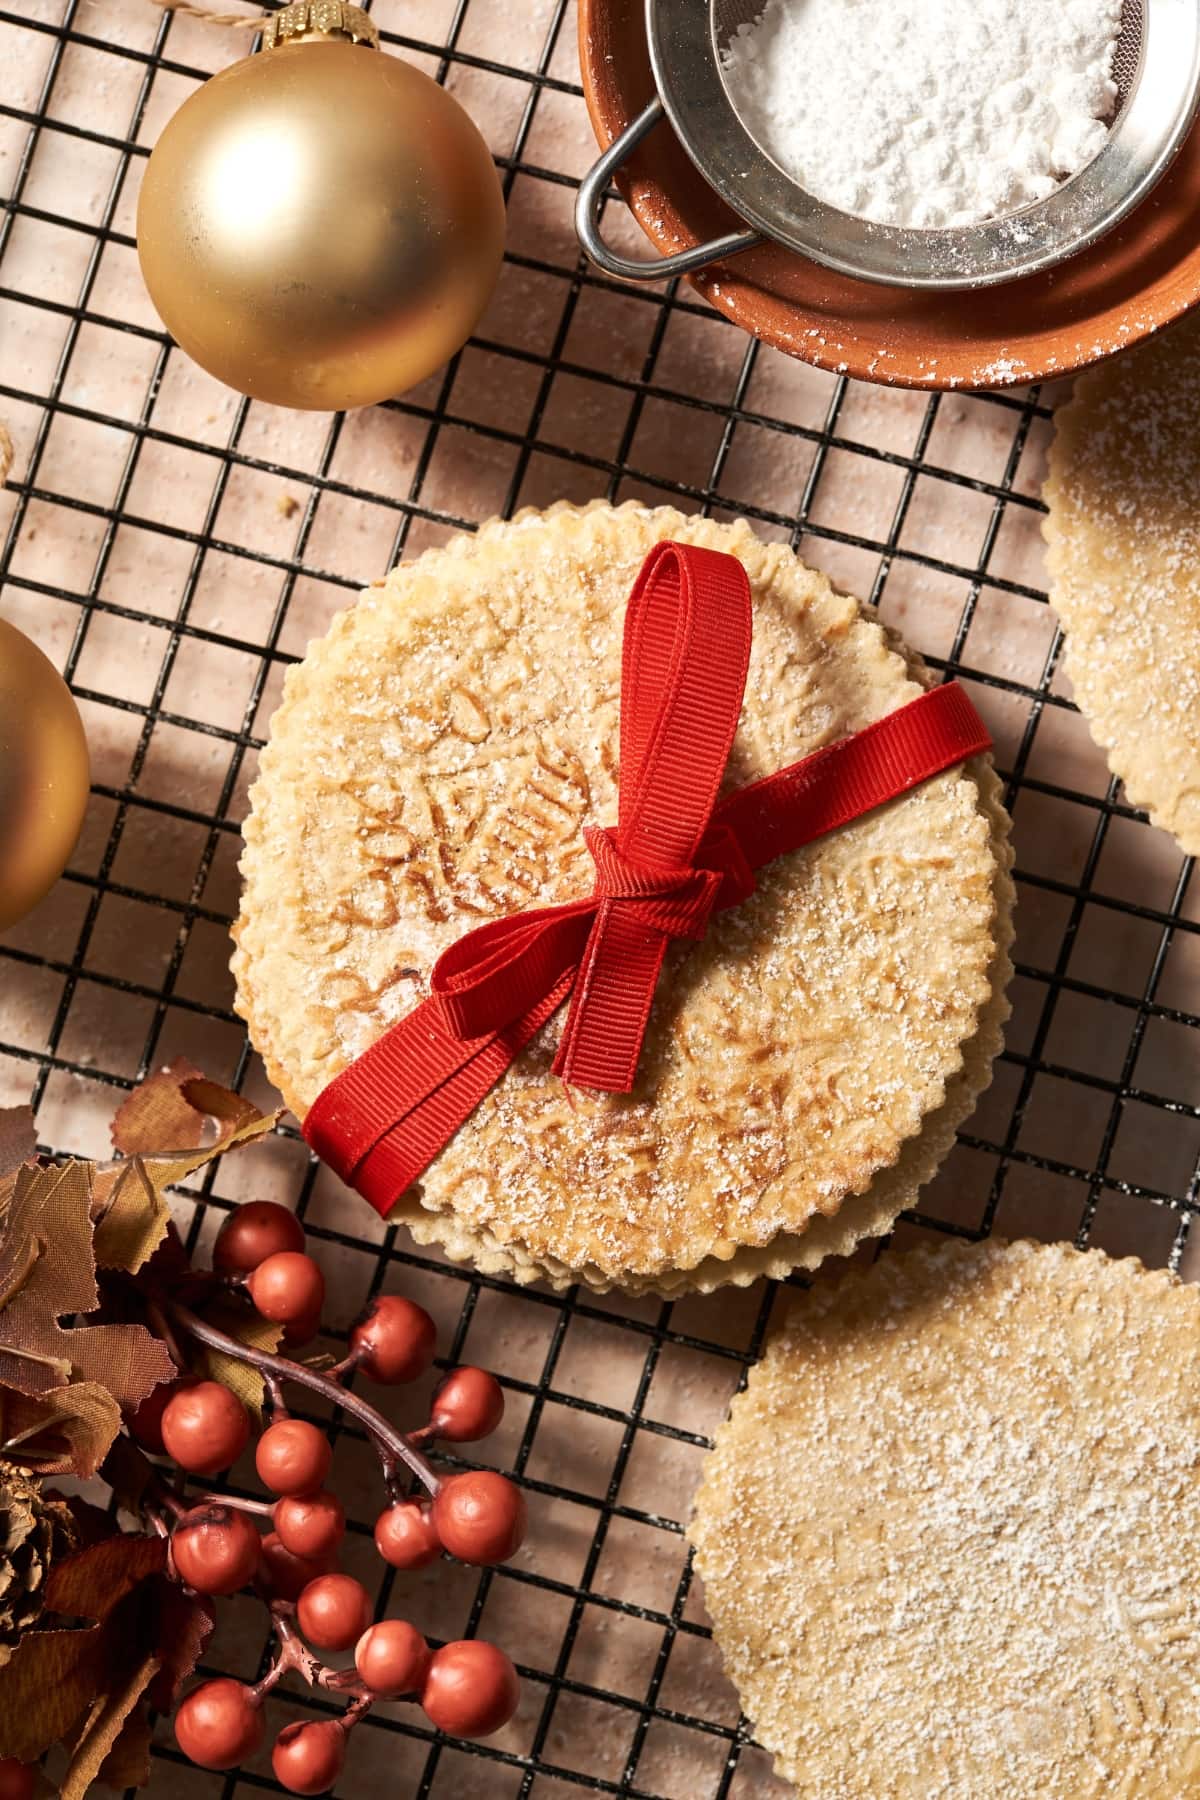
Traditionally, Italians enjoy pizzelle plain, perhaps with a cup of strong espresso or a glass of wine. A simple dusting of powdered sugar is also a classic presentation.
However, their delicate structure makes them incredibly versatile:
* **Powdered Sugar:** The simplest and most elegant finish.
* **Filled Cookies:** While still warm and pliable, roll them into cannoli shells or shape them into small cups. Fill with cannoli cream, fresh berries, lemon curd, or even ice cream.
* **Chocolate Dipped:** Dip half of a cooled pizzelle into melted dark or white chocolate and sprinkle with nuts or sprinkles for an extra decadent treat.
* **Sandwiches:** Spread Nutella, jam, or dulce de leche between two pizzelle.
* **Garnish:** Use them as an edible garnish for desserts, puddings, or even hot chocolate.
For more inventive ways to enjoy these delicious cookies, check out our article:
Easy Italian Pizzelle Recipe: Crisp Waffle Cookies for Holidays.
In conclusion, embarking on the journey of making pizzelle is an invitation to connect with centuries of Italian culinary tradition. This authentic pizzelle recipe provides a gateway to creating not just a dessert, but a piece of history in your own kitchen. Whether you choose the aromatic anise or the comforting vanilla, the process of crafting these crisp, patterned cookies is a rewarding one that promises delightful results and a taste of Italy. Gather your ingredients, fire up your pizzelle iron, and prepare to charm your family and friends with these exquisite, timeless treats.